Here is an example of how I processed a photo in Adobe Lightroom Classic. In this example, I pull the saturation to zero and work on pure tonality, before finishing with color touches. I use a single mask with manual adjustments to work on the sky.
 |
1. Starting point, no adjustments beyond sharpening.
|
 |
2. White balance from “as shot” to “cloudy.”
|
 |
3. Saturation to zero.
|
 |
4. Exposure adjustment for overall brightness. (Brightness added.)
|
 |
5. Overall contrast adjustment. (Contrast added.)
|
 |
6. Highlight adjustment. Because the sky is so bright and lacks detail, I am paying particular attention to how the lit trees are affected. (Brightness added.)
|
 |
7. Shadow adjustment. (Shadows darkened.)
|
 |
8. White (extreme highlights) adjustment. Again, paying attention to how the trees and ridge are affected and letting the sky get too bright. (Brightness added.)
|
 |
9. Black (extreme shadows) adjustment. (Shadows darkened.)
|
 |
10. Clarity (local contrast) adjustment. (Slight increase.)
|
 |
11. Saturation reset to see what overall scene looks like in color.
|
 |
12. Sky selected with automatic mask and fine tuned with brush, then darkened with a combination of exposure, highlights, and whites.
|
 |
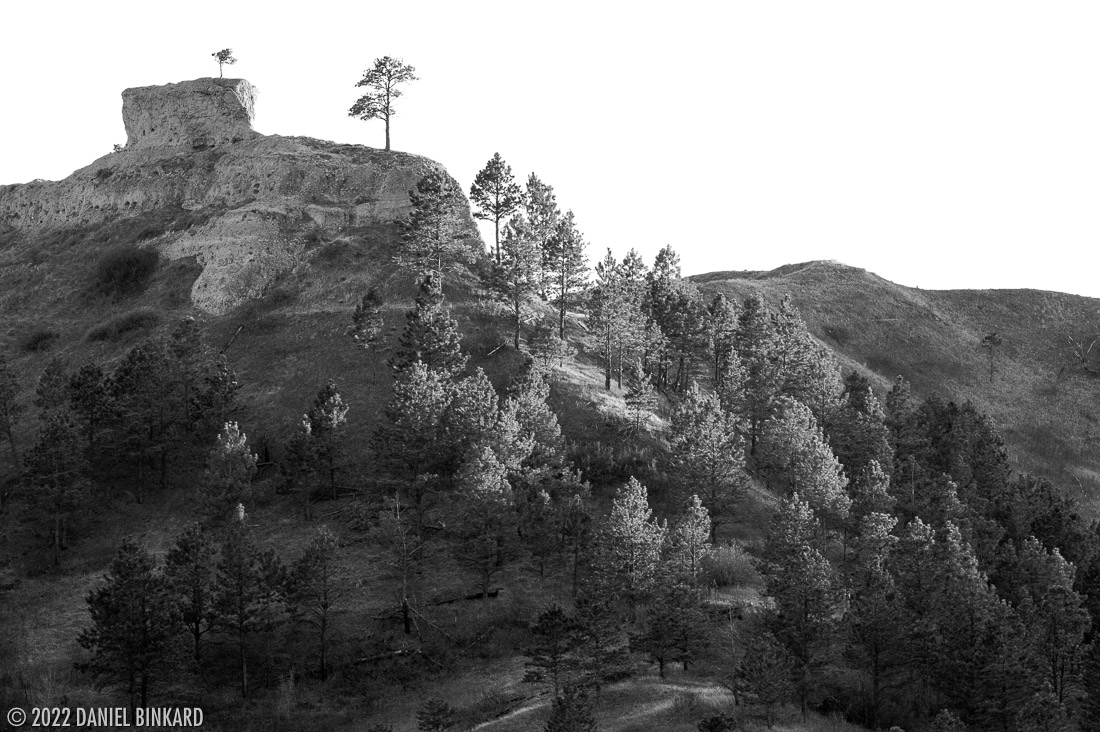
13. Saturation and vibrance increased for final effect.
Evening light on Steamboat Butte at Chadron State Park, May 2022. (Photo by Daniel Binkard)
|
There is more that could be done to finish this photo. For example, I could warm the colors on the shadow side of the butte to further tie it to the sunlit trees.